How to Start a Freelance Writing Portfolio That Attracts High-Paying Clients

When I first started freelance writing in 2015, I had nothing to show potential clients. I had no published work, no website of my own, and no way to prove my skills.
It would’ve been nearly impossible for me to charge my worth at the time. Since I couldn’t point potential clients to a portfolio, and I didn’t have time to negotiate with zero proof, my first client paid next to nothing.
It took me three years of working harder than I needed to before I started my portfolio (which later I converted to a blog that earns me a passive, yet full-time income!).
So, I now highly recommend that every new freelance writer creates a portfolio to showcase your work. It can help you earn a higher rate per word from the start.
We foster relationships with brands we use and trust. The testimonials on our site represent real experiences, but they don’t guarantee you’ll achieve similar results. When you make purchases through our links to our partners, we may earn a commission. Your support helps us continue this work. You can read our full disclosure here.
6 Easy Steps to Start a Freelance Writing Portfolio
Use this tutorial to set up your portfolio online. It’s quick and simple, and you can include it with your client pitches as soon as you’ve published some sample articles.
Step 1: Choose a Writing Niche
Many freelance writers start by saying “I will write on any topic.” While it’s good to be versatile, you’ll establish yourself sooner by choosing a niche.
Typically, you’ll want to start with topics you are familiar with and that have some popularity.
Ideas to consider for your writing niche:
- Finances
- Family
- Food and Recipes
- Parenting Tips
- Health and Fitness
- Gaming
- Travel
- Interior Design
- Hunting
- Sports
- Relationships
- Trending Stories
Related: How to Become a Freelance Writer
Step 2: Select a Platform

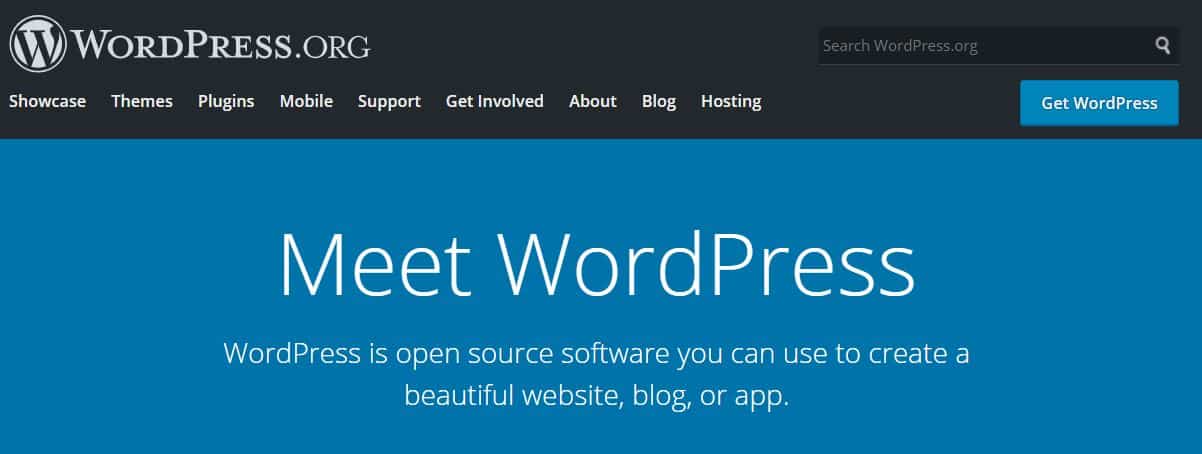
WordPress.org is the best platform for a freelance writing portfolio because it offers the most flexibility with free themes (templates) and plugins (features).
This is the platform that I’ve been successful with and recommend without a doubt.
Related: How to Become a Proofreader from Home
Step 3: Choose a Host
Every website requires a host in order to connect with potential clients. Think of a host as a “rental space” on the internet. It costs money to store your physical property in a storage unit; similarly, it costs money to store your written samples and images online.
Bluehost is one of the most affordable host providers for portfolio websites. It has fantastic customer service and tech support that is available 24/7 via Live Chat or by phone.
Related: 15 Ways to Get Paid to Write Slogans

Why Bluehost? Because it’s fantastic for beginners. You will hear lots of opinions on host options, but I strongly believe that it’s 100% ok to go with one of the cheapest hosts you can find–and Bluehost is cheap.
To begin, click here to open Bluehost in a new tab. Select “Get Started.”
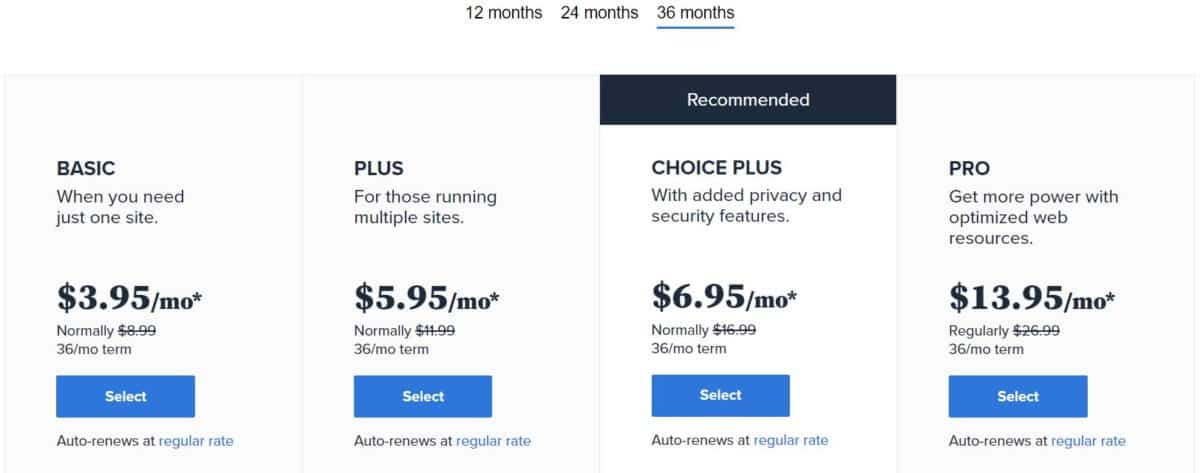
I recommend choosing the Basic Plan at first which is the most affordable option. If you can commit to a 36-month plan, you’ll save even more in the long run. Carefully review the plans and what each one includes, and then make your selection by choosing the blue “Select” button.

Related: Best Stay at Home Mom Jobs
Step 4: Choose a Domain Name (URL)
A domain name is a unique phrase that people can type into a search bar to find your website, like www.name.com.
Bluehost gives new customers a free domain name for one year if they sign up for a 12, 24, or 36-month plan. A year+ plan will also provide the best value.
A domain name could be anything from your full name (if available) to a unique sequence of words that summarizes your niche. You can always change the name later (I did).
You can even choose something like [YourName]Writer.com!
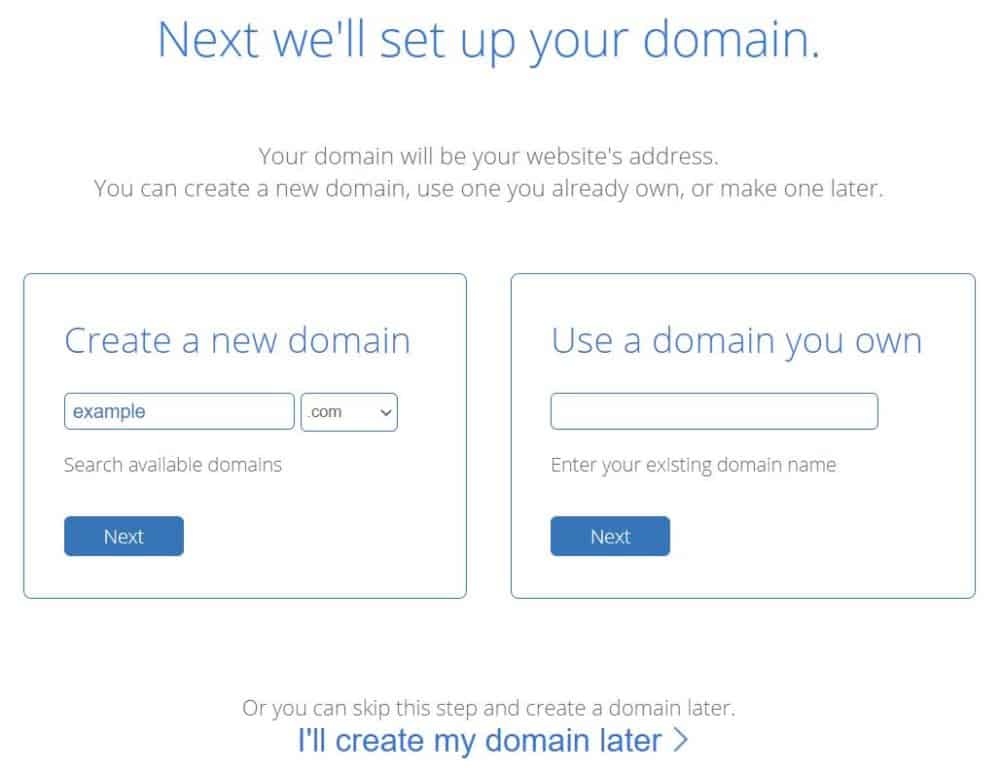
You can either create a free domain here or type in your existing domain if you already have one. Then select “Next” to continue. You can also choose to skip this step if you need more time to think about your domain name.

Related: How to Become an Affiliate Marketer
Step 5: Create Your Account
Enter your name, address, phone number, and email address in the first section. This information will establish your account for billing purposes.
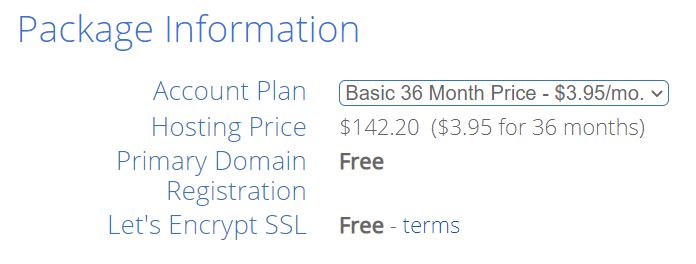
Next, choose between a 12, 24, or 36-month hosting plan. If you can afford to purchase three years of hosting, DO IT. It will save you the most money. Bluehost has a 30-day money-back guarantee if you should need to request a refund for any reason.

Next, select any extra services you may wish to purchase. I don’t subscribe to any of those services because there are usually free alternative WordPress plugins (except for domain privacy–you may want to keep your information private).
Finally, grab your credit or debit card and fill in your payment information. Review the terms of service, cancellation policy, and privacy policy. Check the box next to those documents and then select “submit” to finalize your order.
Bluehost is one of the best hosts for beginners. Its 24-hour support will help you choose a theme and set it up as soon as you’ve ordered your hosting package. Make sure to log into your new account and start a free chat session with tech support if you’re not sure where to go next.
Related: Get Paid to Edit Papers
Step 6: Start Publishing Sample Articles!
As soon as your website is published, you can start to add articles to your portfolio! I recommend starting with five to 10 well-written articles on topics that you wish to cover as a freelance writer.
Keep the topics related to one another and under one niche, if possible. Once you’ve rounded out your first category with samples, you can always add more categories to your portfolio later.
Then, when you come into contact with a new prospective client, you can direct him/her to the category of articles that best fit the job you’re pitching!
Related: Best Home Based Business Ideas for Moms
Don’t Wait–Build a Portfolio, Now
Setting up a freelance writing portfolio is so important. Don’t make the same mistake I did and waste your first couple of years writing for low rates when you can look professional from the start and charge what you’re worth!


